Aye's Advice: Winter Protection Tips for your Irrigation system
You’ve probably added some winter preparation to your gardening to-do list, but have you thought about how to protect your irrigation installation from the bad weather?
In this post, we’ll explain how to tuck up your irrigation installation for the winter months, so that it is ready to be switched on again in Spring. Due to the potential dangers involved in winterisation it may be best to contact a professional who can provide this service. Remember to wear proper eye protection as the system may be pressurised and could cause physical injury when it is first opened.
Irrigation systems
It’s important to remember to prepare your irrigation set up for the winter months, to protect it from the damage that frost and ice could cause in the system. Frozen water in the system could damage the pipes, valves, nozzles or any other components of your irrigation set-up, causing the whole system to fail. Furthermore, if your irrigation system froze when still connected to your household water, this could cause burst pipes in your home. To prevent costly and distressing damage, take these simple steps well before the first frost:
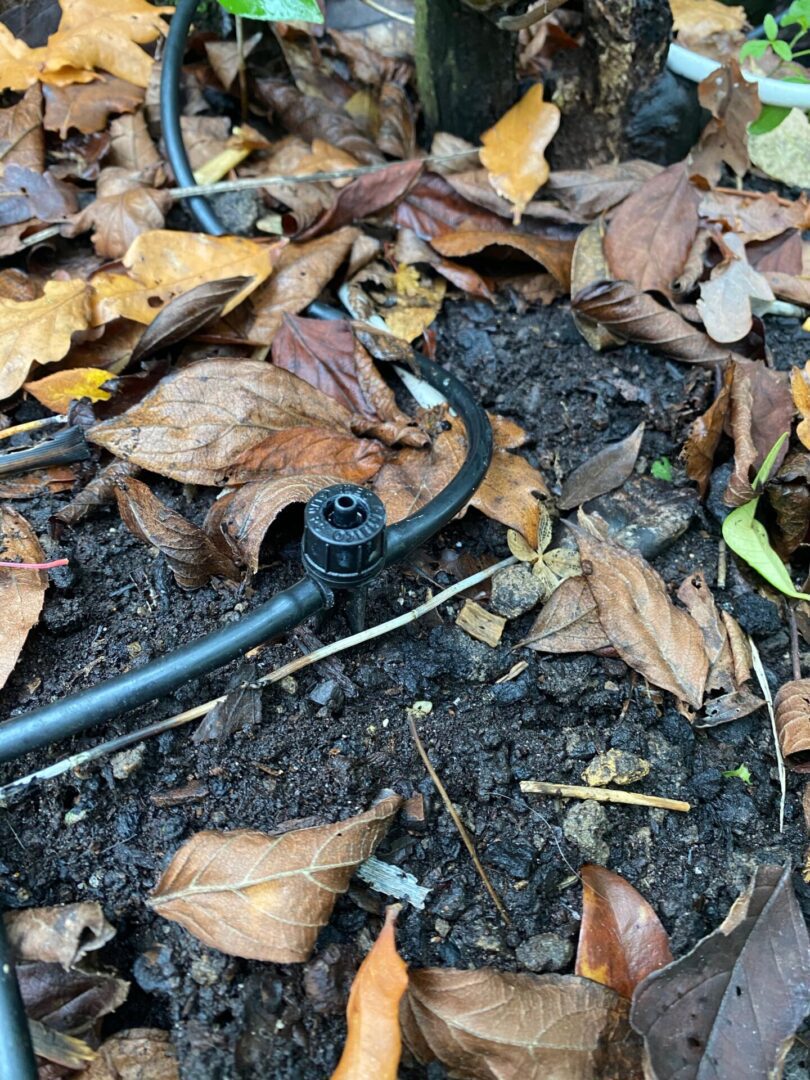
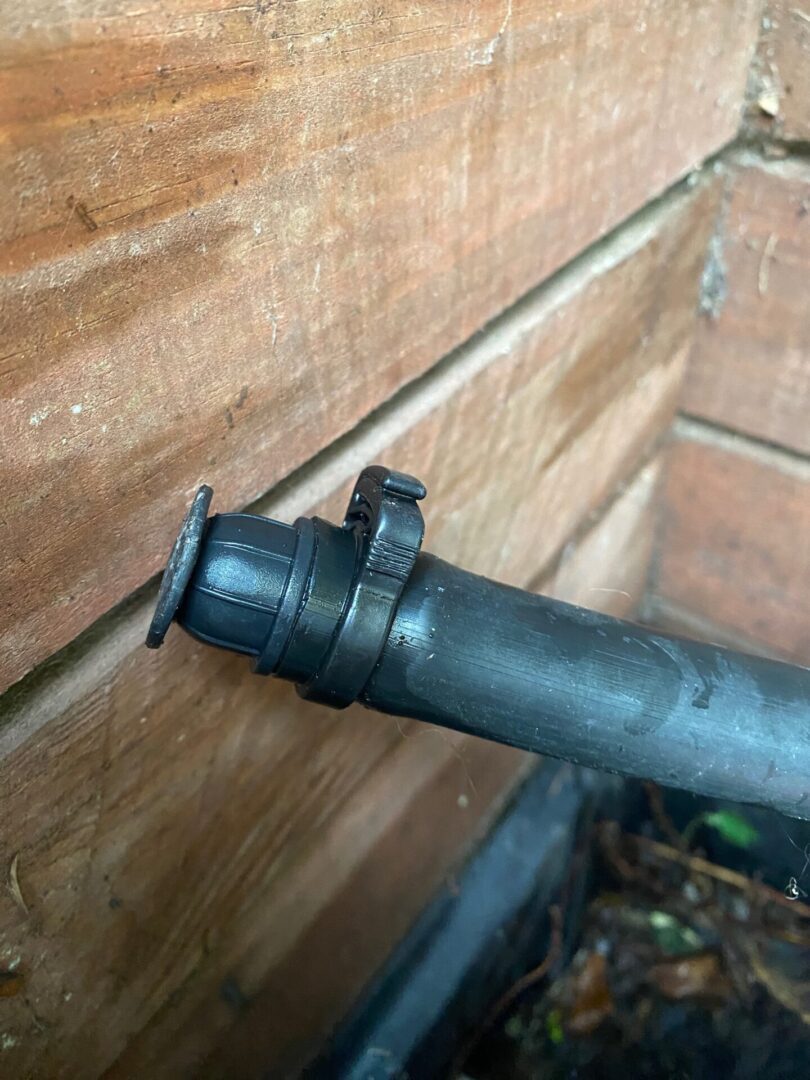
- Micro Irrigation System. Before you turn your system off for winter you will need to flush the pipes. Remove the end caps/plugs and unscrew the spray heads. Turn on the tap to flush through the system. Turn off the tap, let the water drain out thoroughly and replace the end plugs once all the water has drained away. After rinsing the spray heads replace them on the system. It is possible that during harsh weather the LDPE pipe may split, this is a simple repair but it is something to look out for in Spring when you prepare the system again.
- Drip line System. Similar to the micro irrigation system you will need to flush the pipe through with water. Remove the end plugs, turn on the tap and let the water flow through. Then turn off the tap, leave the pipe for about 1 hour so that is is thoroughly drained and close up the end of the pipe. The pipe can be mulched over so it is protected from harsh weather.
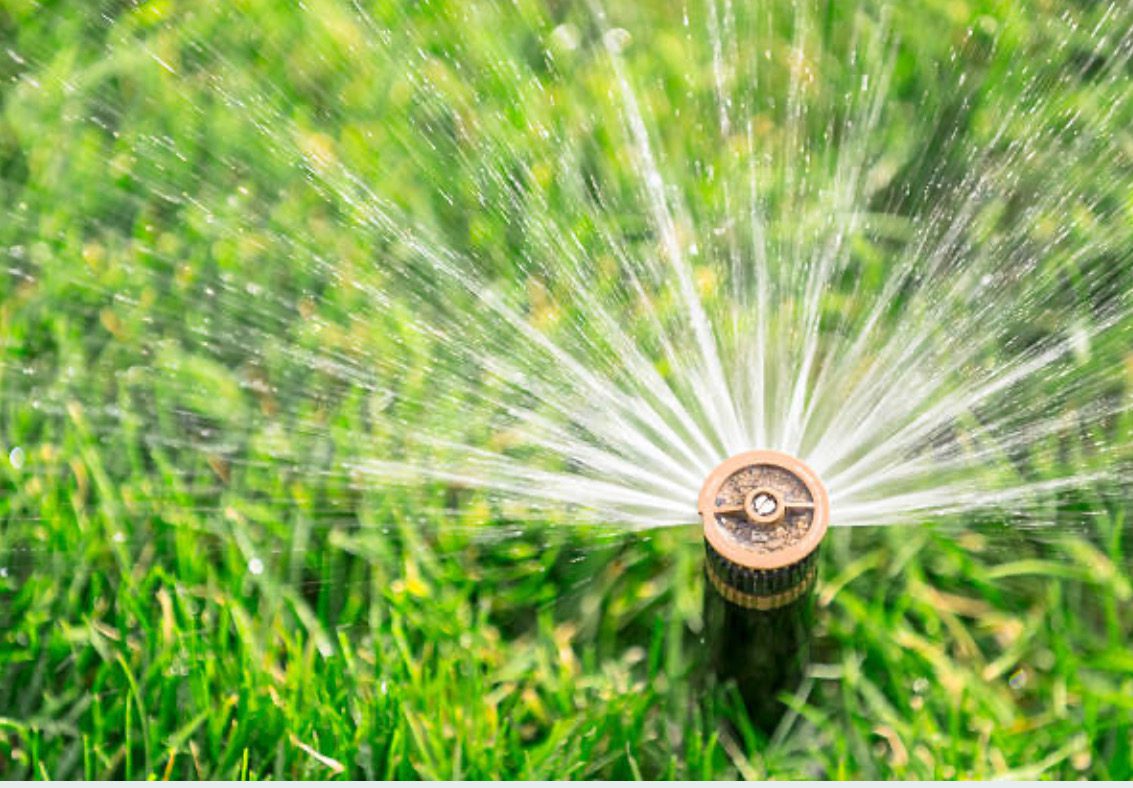
- Hunter lawn pop up irrigation system. To winterise the Hunter lawn pop up system you can manually drain it or use the automate drain valves. Another method is the blow out method but this uses compressed air so we only recommend a professional carries this out.
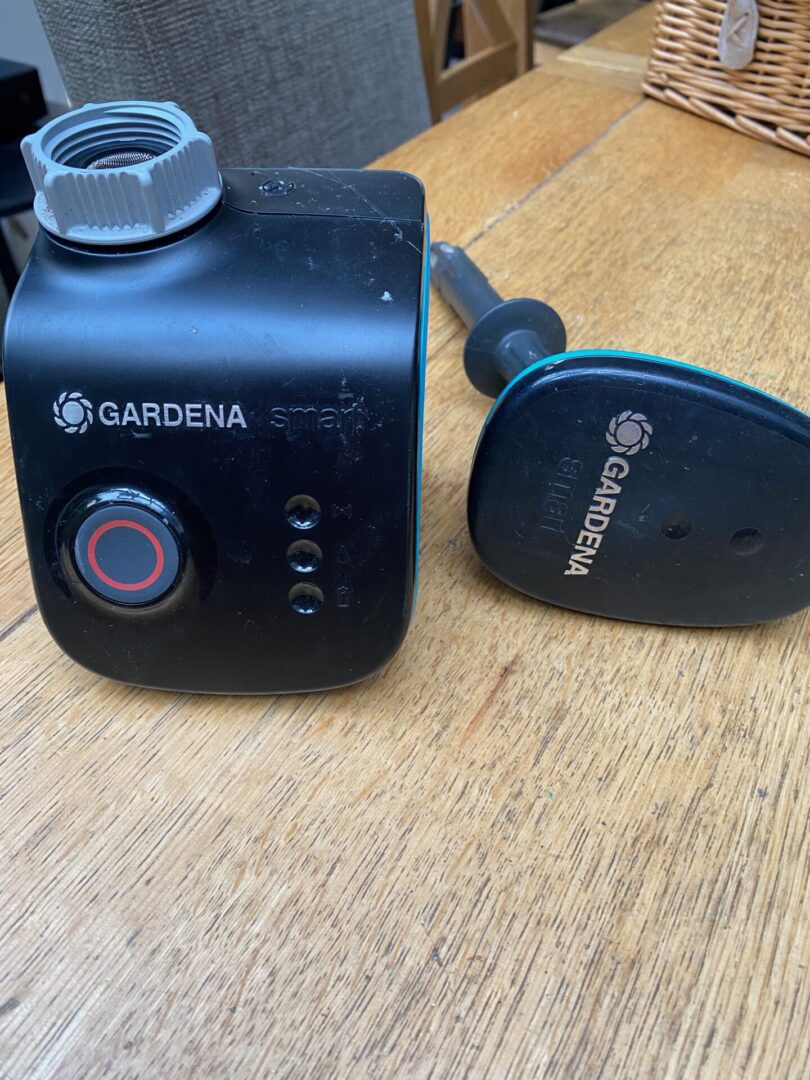
- Store water timers inside: Not all brands of water timers need to be brought inside. Hunter controllers can be left outside. Please see here for a quick look at what to do to winterise your Hunter controller. Claber and Gardena do need to be stored inside. Remove and recycle the batteries before storing, ready to fit new ones at the beginning of next season. If you don’t take your timer inside for winter, you risk frost damage which will void the equipment’s warranty.
- Tap splitters also need to be taken inside for winter. Whilst only a small element of your whole irrigation system, these fixtures are also liable to frost damage which could damage your whole system.
- Drain the tank: Drain your tank by removing the lower outlet cap and letting the water empty out.
- Water supply. To prevent freezing you could shut off your water supply to your outside tap if you are able to isolate the outside water supply from indoors.
Aye’s advice:
- Always seek professional advice if you are not familiar with your irrigation system.
- Always refer to your own manufacturer’s guidelines and instructions for the specific advice for your particular irrigation system.
- Keep an eye on irrigation system all year round: Check for drippers not working, blockages and leaks. By maintaining your system while it is operational throughout the year, you will minimise the risk of damage over the winter months too.

